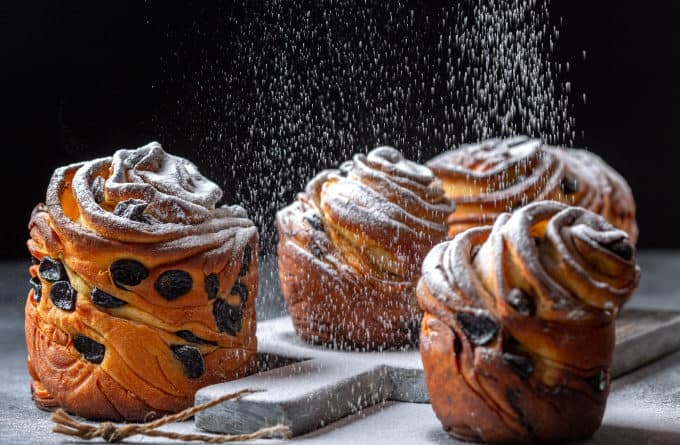
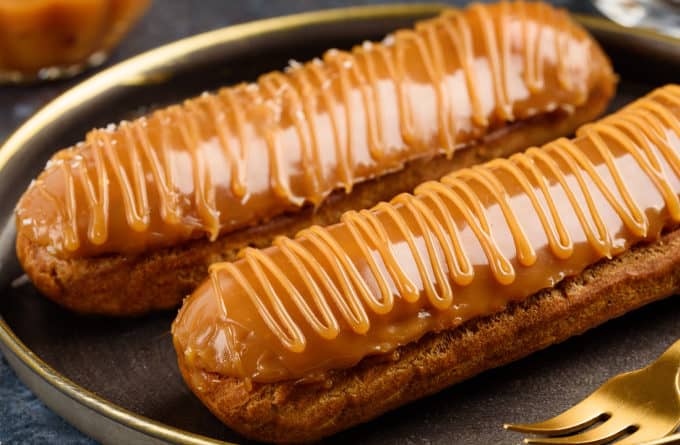
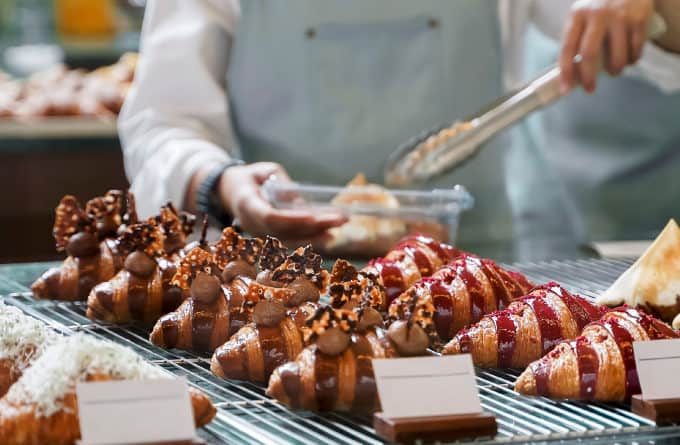
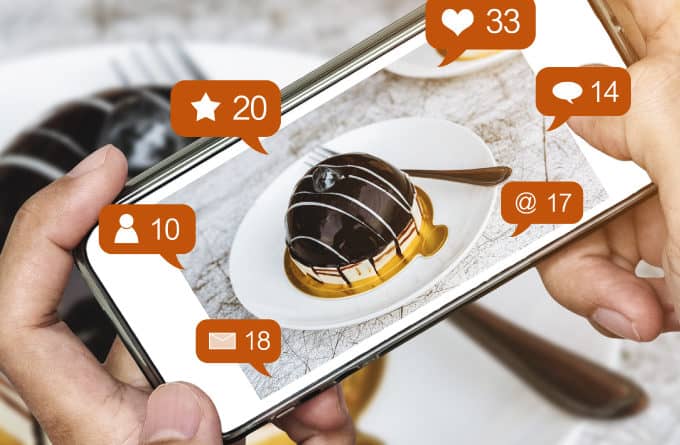
Consumers eating with their eyes first is not a new thing. But one thing that does continue to change is the consumer’s ability to find new baked treats and bakeries online. Platforms like Instagram and Pinterest have made taking the perfect photo a must for any startup bakery who want to promote their bakery and products through the platform.
And, taking the perfect photo is no easy feat. Some bakeries will turn to professional photographers to get the best images of their products. But some of you will want to do this for yourselves. If that’s you, then we’ve gathered some advice from some professional food photographers.
First, think about equipment
If you’re going to prepare and photograph your own baked goods, you will first and foremost need to think about your equipment. While you can take some incredible photos with a smartphone these days, cameras are still the better and more powerful option.
If you’re looking for more technical recommendations around cameras, we’ve included some useful links in the article for you to refer to.
No matter what you’re taking your photos with, there are some pieces of equipment that will help bring quality and life to your baked goods.
Get Bakels articles delivered to your inbox
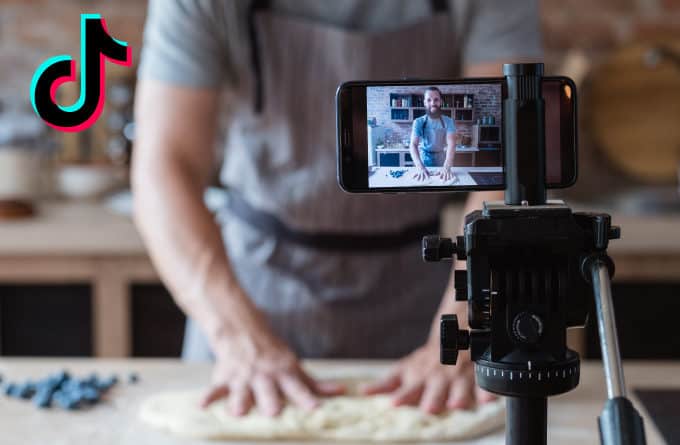
Get a tripod
Tripods exist to stop your photos from suffering from a shaky photographer, and for you to get the most precise angle to a tee. You can then set your camera to a low shutter speed and still get a clear and focused image. If you’re using a phone, you will eliminate the potential for blur.
A tripod that shoots both horizontally and vertically is best. That way, if you’re struggling with light and focus, you have more shooting options.
A top tip here is to set your camera to a self 2-second timer, that way you’ll avoid any potential blur from pressing the capture button.
 (Large)")
Additional lighting
For additional lighting, you can purchase lighting stands to really illuminate your bake from certain angles. However, natural light is always preferred.
Expert photographers warn against using a flash as it creates shadow and an unnatural glow around the food you’re photographing.
Diffusers & Reflectors
Diffusers soften natural light and affect how much light hits your bake, background and surroundings. Some photographers recommend increasing the size of your diffuser the stronger the sunlight. That way, they can avoid creating any harsh shadows, similar to a flash.

A set of professional reflectors is a good investment. These are foldable discs that come with gold, silver, white, and black material. You can use them interchangeably, depending on your lighting scenario.
The gold reflector is best for adding warmth to your products, while the silver reflector is good for brightening the surfaces of your baked goods.
The black and white reflectors come in handy when you want to direct light at a certain angle of your bake. By placing these directly opposite your light source, and playing around with positioning, you can mould the light to fit your perfect shot.
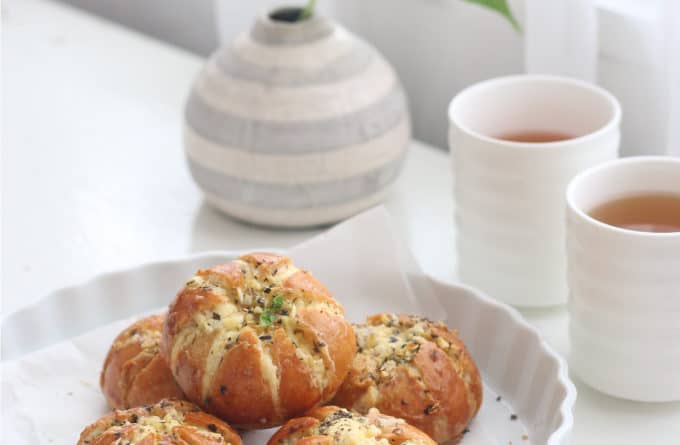
Props

The long and short of it here is to make sure that your bake is the main attraction. Any bold backdrop, patterns or additions can distract from the main piece, and you don’t want that!
Try to find props and other additions that suit the colour palette of the bake or image. It can be easy to fall into the trap of always using your brand as the backdrop. While that can work, if you want to add variety to your images (especially for social media), you’ll want to experiment here.
Try to think of the scale and size of the props you use. Same as before, if the size and grandeur of a prop will take away from the image, or completely dominate it, it won’t work.
The last thing to consider is the change in lighting you might have to accommodate for using props. Any extra glare, or light-capture could change the image’s focus point away from your bae or product.
Set the scene
We’ve talked a lot about what you’ll need to be able to capture our baked goods, such as using natural light and props you might want to make use of. And that leads us on nicely to talking about creating the perfect scene for your bakery photography.

Natural light
Location, location, location. There are obvious locations such as countertops, tabletops and kitchen sides, but there are also less explored locations that might offer better natural lighting for your bake. Once you’ve decided on a location, get to know the light there, and learn how to manipulate it for the best shot.
It doesn’t matter how good your bake is if you can’t find the best light to capture the image, so setting and natural light are really THE most important factors in food photography.
- Side lighting is when the light is coming from one side. If you imagine the face of a clock, it’s at either 9 o’clock or 3 o’clock.
- Backlighting is when the light is coming from directly behind the subject, at 12 o’clock.
- Side backlighting is in between the two, at around 10 o’clock or 11 o’clock.
- When you take photos of cakes, you want to avoid frontal light; while it will light your cake evenly on the front, it will create harsh shadows behind.
For a more in-depth dive into lighting and food photography, try the following resources:
- 4 Must Haves for Beautiful Natural Food Photography on Two Loves Studio
- Lighting and Compositional Basics by New York Times photographer Andrew Scrivani
- Artificial Lighting: One Light Set-Ups from Expert Photography
Setting
Decide your setting before you take your creation to the location. Think about whether you’re going for a lifestyle shot, or for something more formal. A formal shot (for example) would more likely be shot with man-made backdrops or branding, whereas a lifestyle shot will use more props and a themed aesthetic (such as vintage cutlery and plates).
Things that can complement a setting:

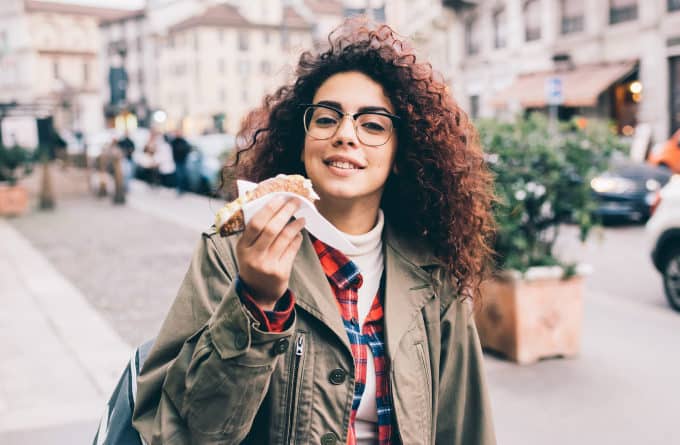
People or human interaction

Raw ingredients

Cutlery

Cloth
But the rule of thumb is the same as we mentioned before, don’t overwhelm the image and keep your bake the centrepiece.
The food and the backdrop are vital components of the image, so unless you’re intentionally aiming for them to clash, make sure they complement one another.

Angles
There are different angles that you can use to capture your baked goods perfectly. Here’s a brief guide on how different angles can work for you:
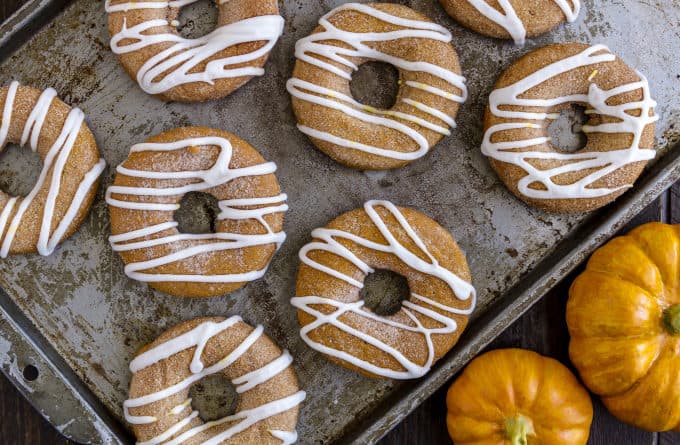
Shooting from above
A bird’s eye view will undoubtedly capture all of your bake, but you will lose any depth in your image. Great if you’re shooting a sausage roll, or cookie, not so great if you want to capture the layers of a cake.
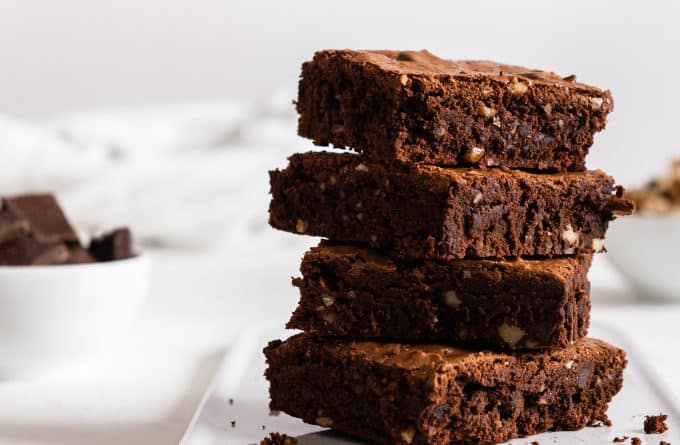
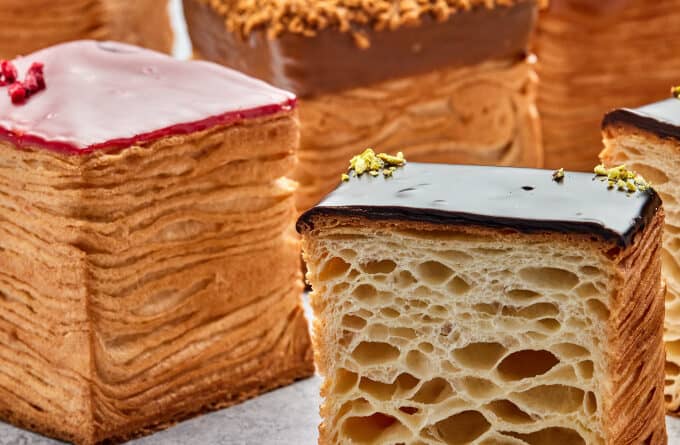
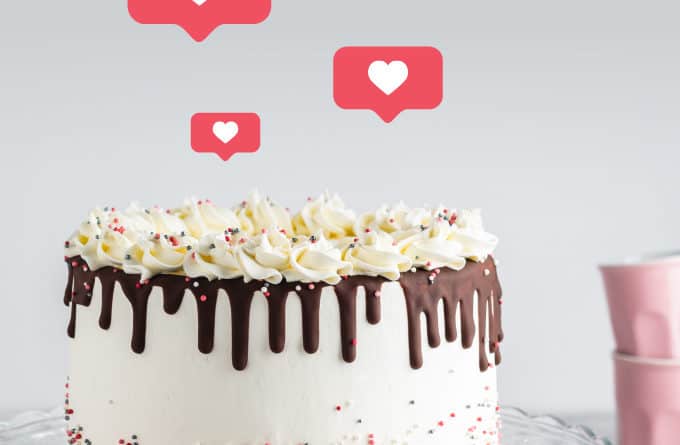
Shooting straight on
In general, cakes with layers look best shot straight. This way, you put emphasis on the layers and height of the cake. If the swirls of icing are the focus, a three-quarters shot might work nicely.
As a rule of thumb, there is no “best” angle to shoot your cake from, the best angle will be the one where you find it maximises all the best bits of your bake.
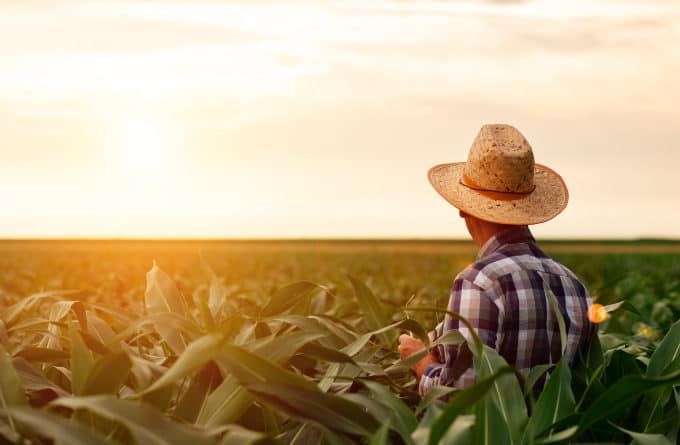
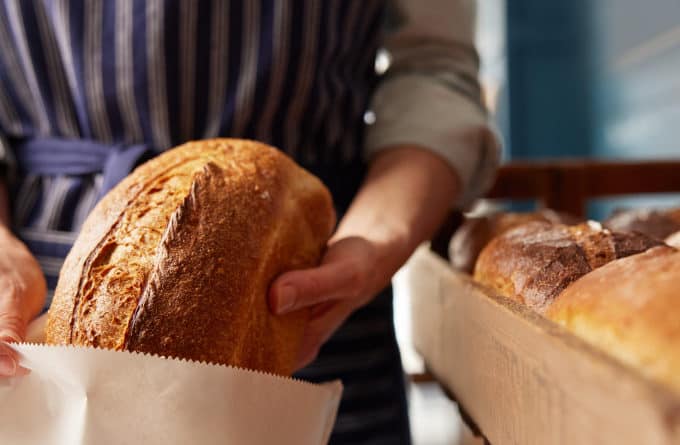
Here for any of your baking ingredient needs
British Bakels has proudly served startup and growing British Bakeries, like yours, since 1904. If you’re in need of any baking ingredients or recipes to utilise in your next bakery photoshoot, then you can place an order today! If you’d like to learn more, or have any questions, reach out to us.